

Table of Contents
League of Legends RADS Error
I wanted to play a game of League of Legends, but unfortunately I got an error message after starting the game “RADS Error: Could not connect to the HTTP server. Please check that your internet connection is enabled and that your firewall is not blocking access.”

The problem is quite generic so it may be that this is not the solution for you.
I have three solutions below which they first explained for the techies among us, and below are the same solutions but with screenshots for the dummies among us.
Let’s fix “Could not connect to the HTTP server.”
The steps for the techies among us.
Keep in mind the below steps are in short for the techies among us! The steps in the longer version are the same, but with screenshots.
First try if League of Legends works after each option.
Let’s re-configure League of Legends System.cfg file.
- Find your League of Legends Directory.
League of Legends is by default installed in directory
C:\Riot Games\League of Legends\ - Navigate to this path and find file System.cfg.
C:\Riot Games\League of Legends\RADS\system
and re-name it to OLDSystem.cfg. - Create a new notepad file in the directory and paste these two lines in it.
DownloadPath = /releases/live
DownloadURL = l3cdn.riotgames.com
Region = EUW
Save the file under the same name and in the same directory.
Use Google’s open DNS Server.
- Go to your Network and sharing center.
- Go to Change network settings.
- Right click your Network Adapter, select Properties.
- Find Internet Protocol version 4, click properties.
- Select Use the following DNS server address.
- For Prefered DNS server use 8.8.4.4.
- For Alternate DNS server use 8.8.8.8.
Turn off the Windows Firewall to see if that causes it.
- Search for Windows Firewall on your computer.
- Go to Turn Windows Firewall on or off.
- Turn off your Firewall for Private.
This is a controversial option, and only tests whether League of Legends works after that, and then turn on the firewall again.
The more explained steps for the dummies among us.
As I have already mentioned above, these are exactly the same steps as those of the techies. If you have tried it and do not work, you do not have to go any further. Only use these steps if you did not understand the techies steps.
Re-configuring the system.cfg file dummy style.
Find your League of Legends Directory in your Exporer.
Your LoL directory is usually in
C:\Riot Games\League of Legends\
Mine is on my E-drive unfortunately, as you can see in the screenshot.
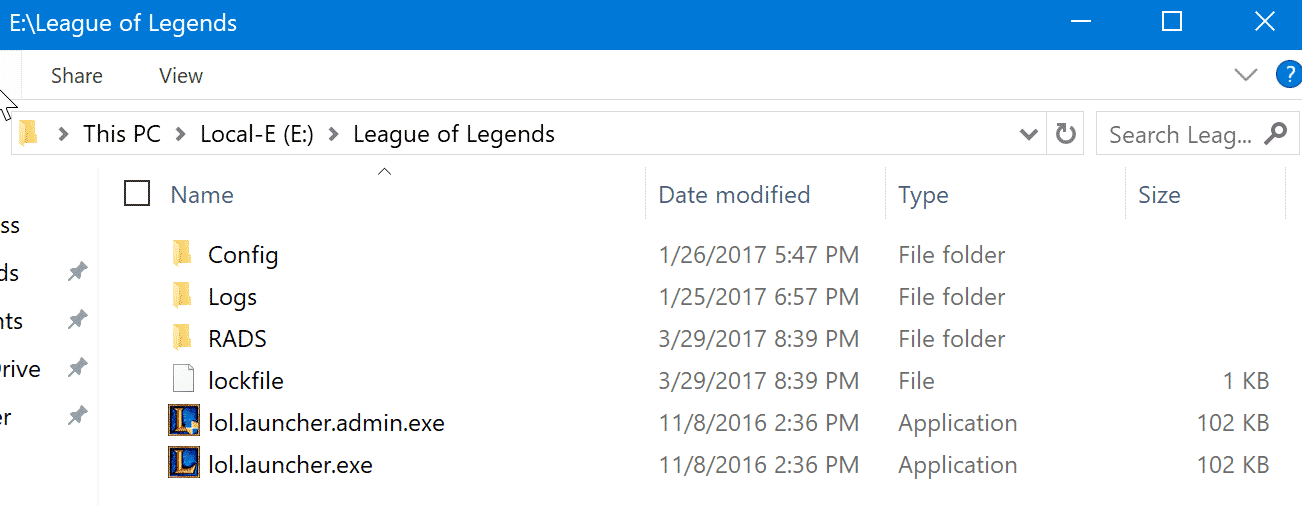
Now Navigate to RADS and then System.
Find the file System.cfg.

Re-name it to System-old.cfg.

Create a new notepad file.
Right click in the white directory space.
Click New.
Click Text Document.

Re-name it system.cfg

Open the file with notepad and copy/paste these lines in it:
DownloadPath = /releases/live
DownloadURL = l3cdn.riotgames.com
Region = EUW

Use Google Public DNS Servers to handle your DNS.
Go to start and search for Network and sharing center.
Open Change Adapter settings in the left menu.

Right click your Network Adapter and select Properties.

Find Internet Protocol version 4 and click properties again.

Select Use the following DNS server address
For Prefered DNS server use 8.8.4.4
For Alternate DNS server use 8.8.8.8

Turn off your Windows Firewall to see if that’s blocking anything.
Open Start and Search for Windows Firewall.
Open Turn Windows Firewall on or off in the left menu.

Turn off your Firewall for Private

As I mentioned in the techies steps, this is a controversial option, and only tests whether League of Legends works after that, and then turn on the firewall again.
Summary
Unfortunately, this is a problem that can have different causes, so this may not solve your problem. If you find the solution, can you put it in the comments for other users?
If you have other questions you can also leave a comment.
same thing. I tried them all and it didn’t work :/ I’m using a public wifi conection so maybe that’s the problem idk
so i tried this but none of them worked